Learning Concepts at This Skill Station:
Editing forms for web interfaces
Generating web form URLs
Appending parameters onto URLs to pre fill fields
Locating records in Data Insights
Video Tutorial:
We have a complete Wwork Stream to manage our leave of absence process. We have tested it by going to the home page and submitting a new form. But that is not how the form would be accessed in real life. An employee would typically access such a form from an intranet portal such as Sharepoint. At this Skill Station, we will learn how to embed leave forms into your company’s intranet.
Start by opening the currently published version of your work Stream. Unlock the stream. Open your Requests Form.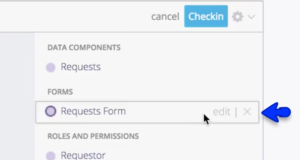
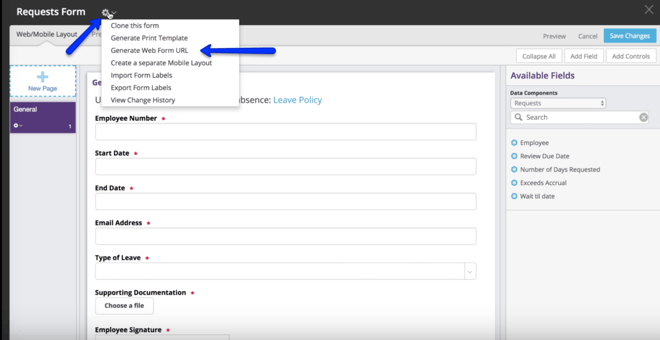
In the Request Form configuration popup, click on the gear icon by the name of the form. Find “Generate Web Form URL” and click on it.
Pulpstream will generate a URL that will be copied to your clipboard.
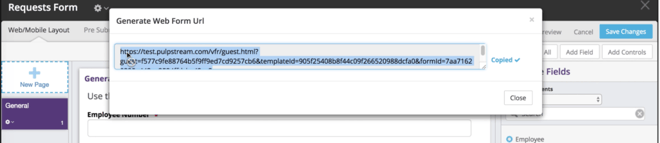
If you paste this URL into a web browser window, it will immediately take you to the leave request form. Try it.
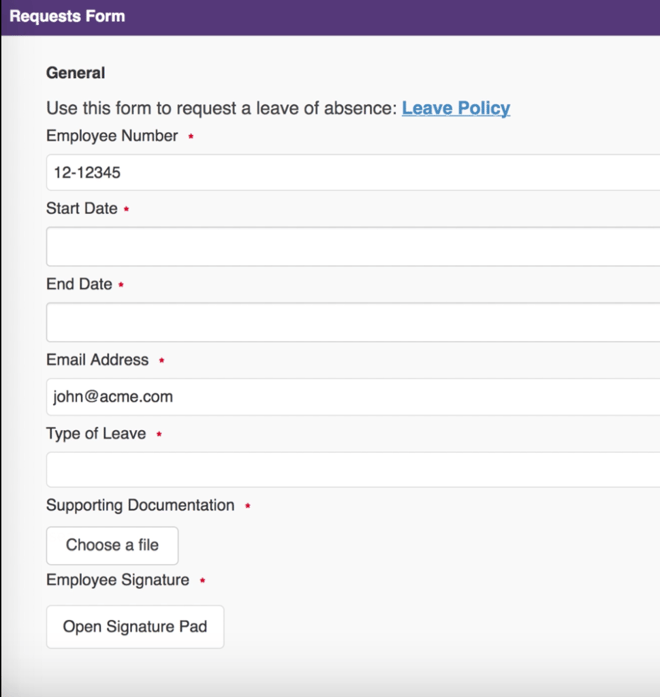
This page would not require a login. This is what that looks like.
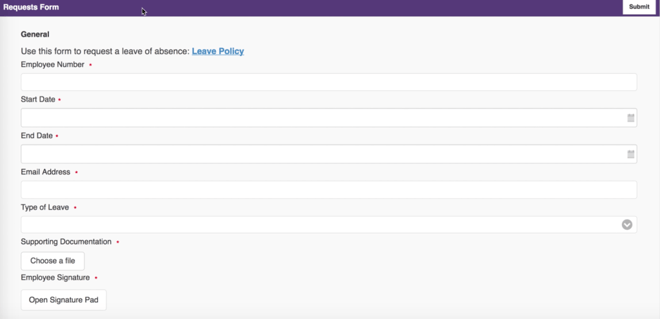
Let's fill out the form and submit it. Notice that the system is asking you to enter your email address.
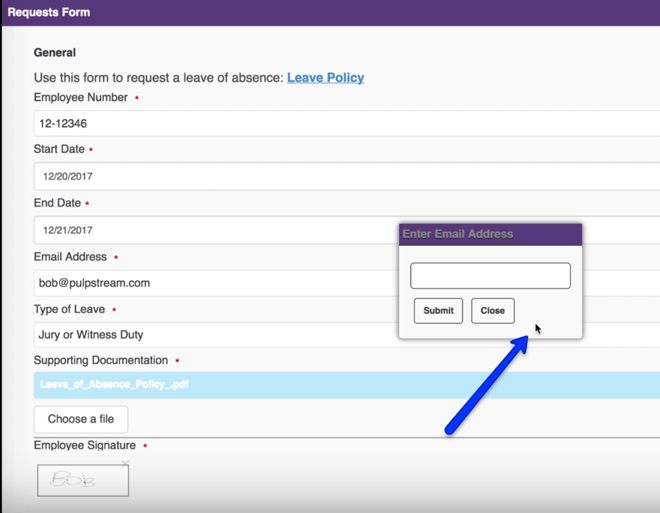
This is needed to link the submitter to the workflow and to send notifications that are in the workflow. But, I already provided the email address you say. I already have that as a field on the form you say. Can’t we use that? Why yes you can. Let’s learn how to make that happen.
Go back to your Request Form and open it. Double click on the email address field to open the configuration popup. In the Edit field popup, underneath the Label field, there is a Binding Field.
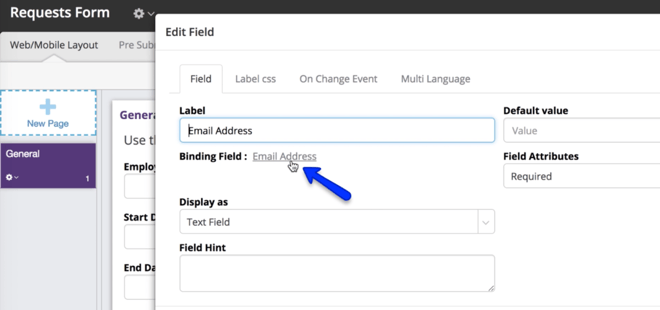
Click on that.
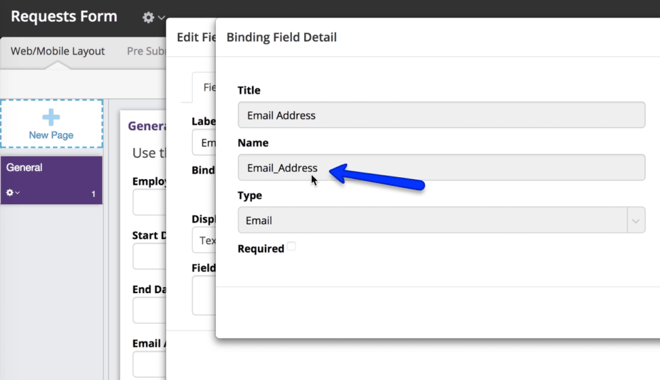
The subsequent binding Field detail popup shows the original Title, Name, and Type fields that we declared when we first configured this Form. Look at the name. It’s "Email_Address." We are going to use this name to append parameters to the webform URL that the system generated for you. The parameters you’d append to the end of the URL will be &userEmail=Email_Address
It would look like this: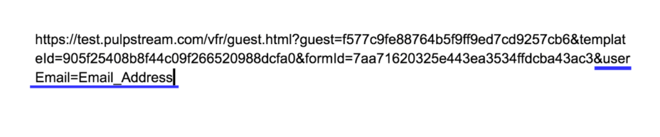
(The part underlined in blue is the part we appended.)
Paste that modified URL into your browser window to test it out. Fill out the form and submit it. The system will show your presubmit alert about how the leave request will be sent to a manager again. This time, however, it directly submits the request without asking for an email address. Success!
Now what if the URL was posted in a corporate portal that was authenticated? It’s quite possible that the portal would already have information, such as this email address, because the employee would have had to login to access that corporate portal. If that’s the case, we can supply the URL with additional parameters to pre fill fields, such an employee number and email address. If that is the experience for which you are configuring this stream, the parameters to pre fill that information could be:
&Employee_Number=12-12345
&Email_Address=john@acme.com
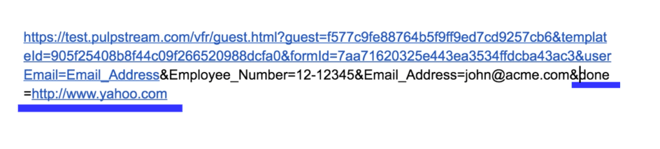
It would look like this:

(The parameters we appended are the text in black.) Paste that URL into a web browser to test it. Notice that when you invoke a URL like this, the employee number and email address were pre filled.
Doing this allows companies to even make the employee number fields read only in the form. This ensures that employees will only be able to submit a leave request for themselves, never others.
After submission the form will redirect to a page like this:
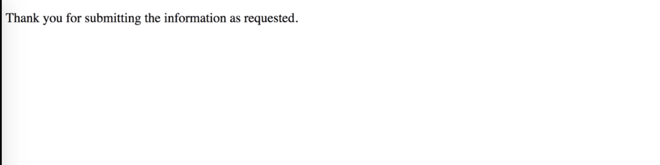
To take the user to a specific URL after the form has been submitted, you can provide a “done” parameter in the URL, such as done=http://www.yahoo.com.
Customize that to suit your business needs.
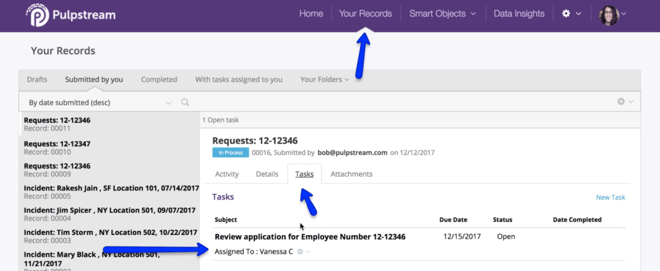
After a request has been submitted from an embedded form, where would you find it? It would not be in Your Records, because you did not submit it. Unless you are a manager of the employee who submitted the request, thus creating the record, it will not be in your task list for approval.
You will find the record in Data Insights in the All Records tab. You can see that it was submitted by a guest with a specified address in the “Created by” column.
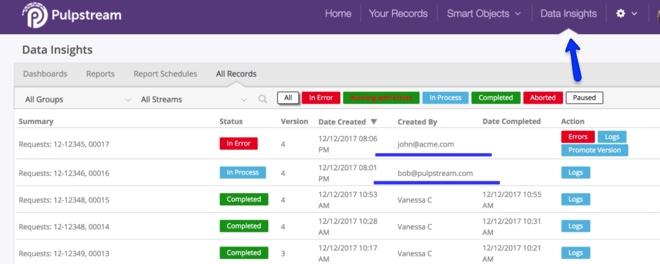
You can click on a record to see its progress. Click on the open detail view record button. If you do open the details, you can see that a task has been assigned to the manager of the submitter.
The manager would have received the email, notifying them they have a task to complete.

Thus concludes our URL modifications. You can now embed your form in your intranet as a link.
This also concludes our Leave of Absence Learning Line. You have now learned all aspects of launching a leave of absence request for your enterprise. Of course, these Learning Lines are designed to teach you core concepts that will enable you to use Pulpstream to streamline your operations. Customize any of these to create the ops efficiencies you need for your business.
Ready to learn more? Hop on another Learning Line to learn how to optimize business process management for other use cases.
Access all our Learning Line Playlists on Pulpstream's YouTube channel.
Ride the Purple Express to new Skill Stations to learn new ways to unleash your workforce.
